Hi friends!
I hope are having a fabulous day!
Today starts a new challenge over at the
Addicted To Stamps & More Challenge Blog and it is....

Use Die Cuts, Stencils or Both!
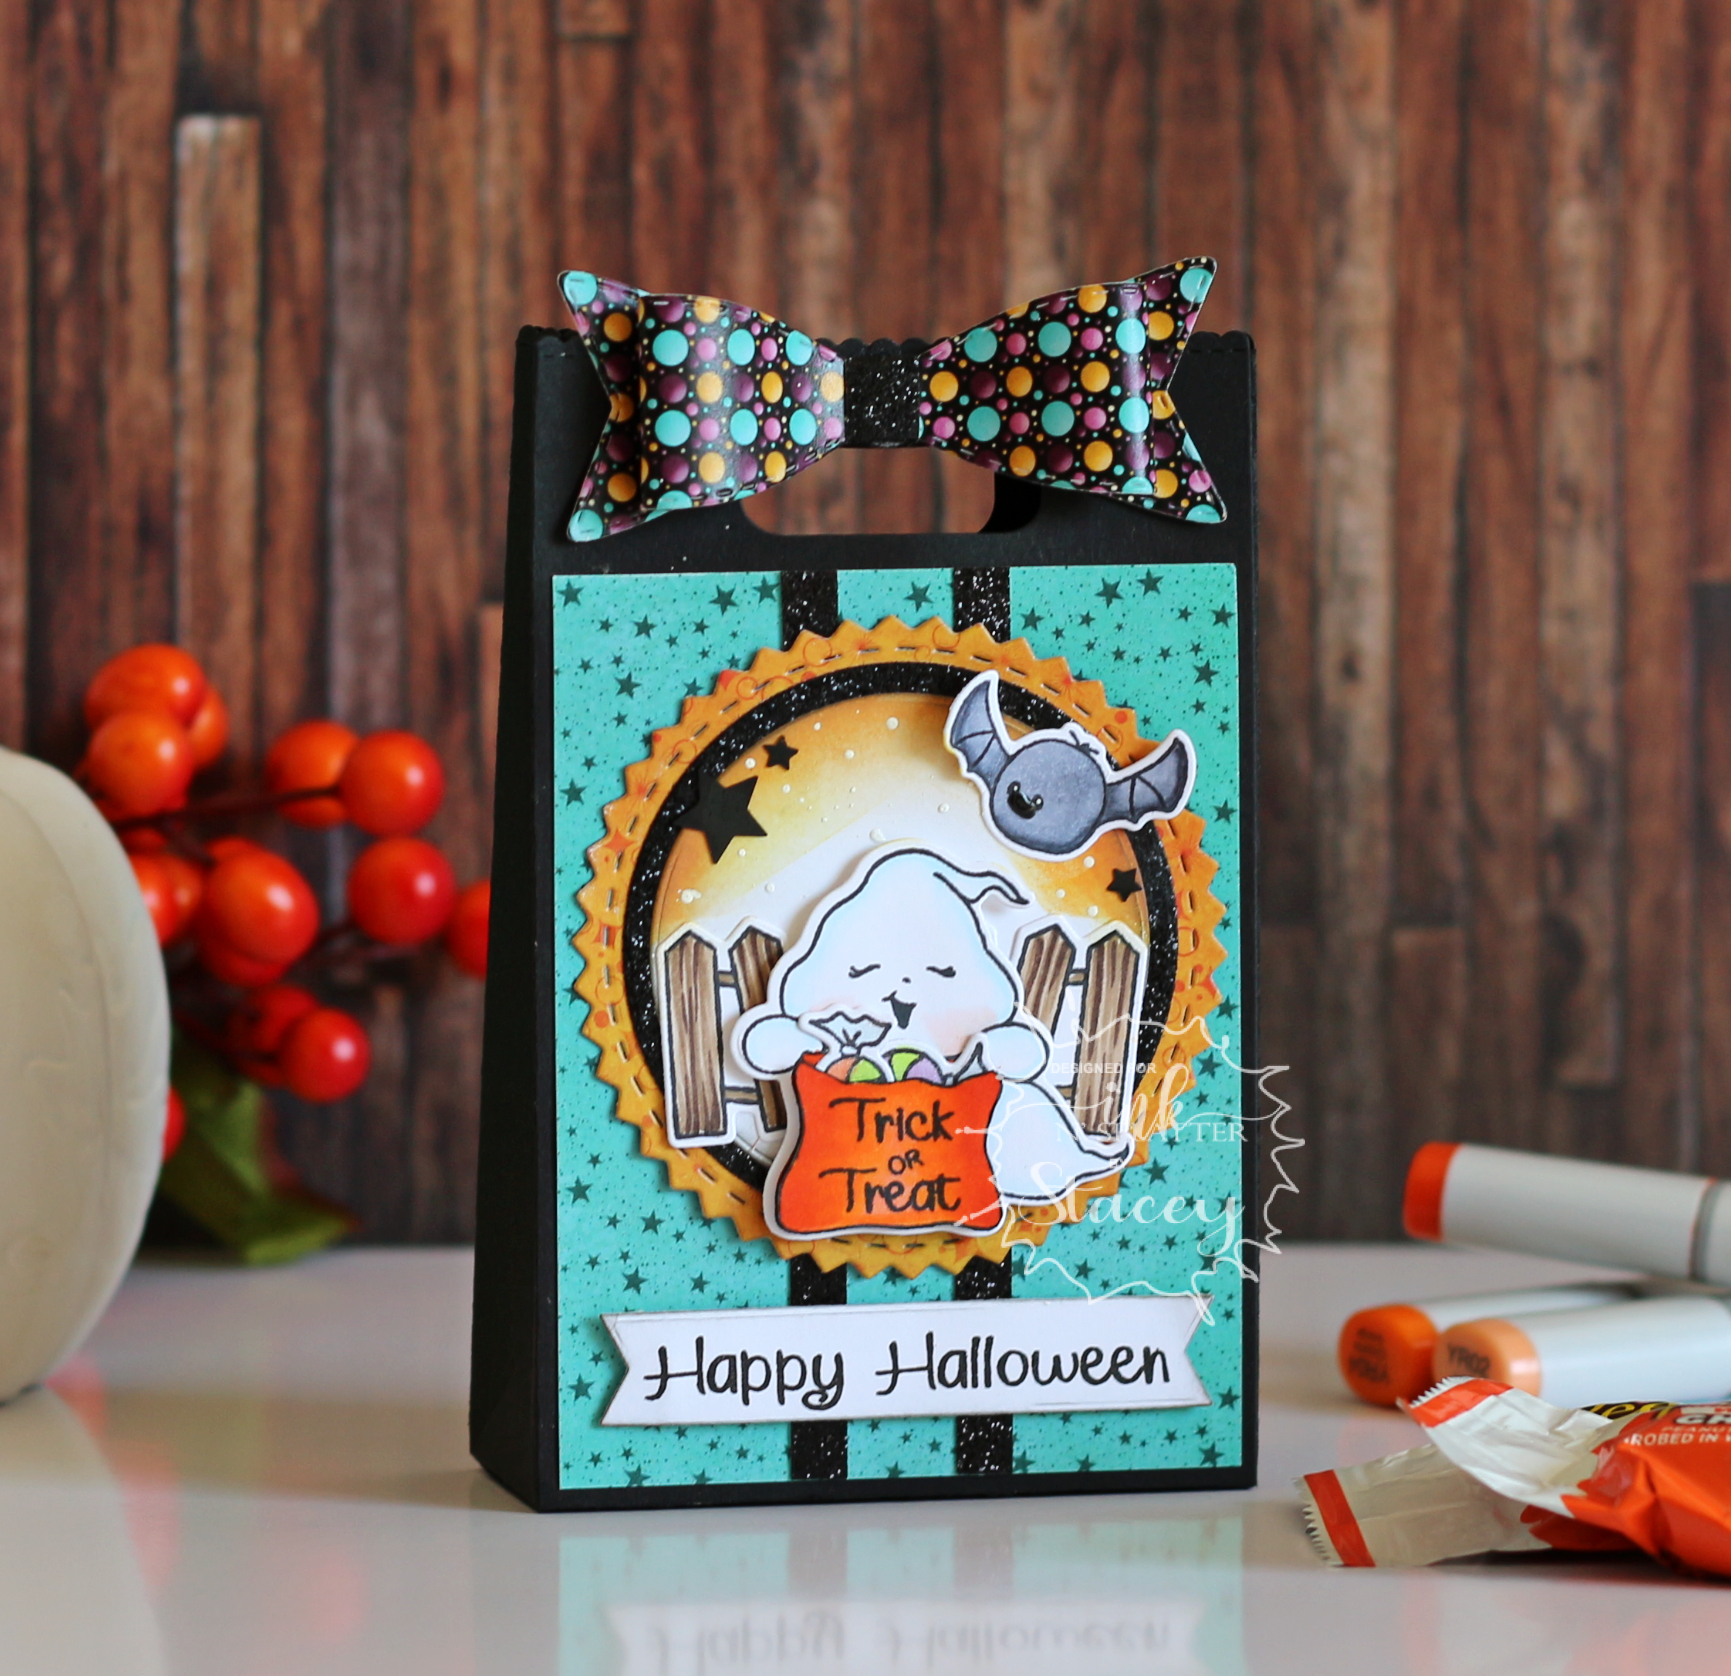
Here is a look at the card that I created:

I had so much fun with making this card. Here's how I did it:
I cut a piece of white cardstock using a stitched die & used a rectangle stencil to lightly ink a green focal point. Once I had the green rectangle there, I used a polka dot stencil to add a few dots for a bit of whimsy. I wanted my focal point to stand out just a bit more, so I took a black micron pen and went around the perimeter of my inked rectangle and added a few dashes here and there to mimic Frankenstein's scar. I layered my white panel onto a piece of silver glitter cardstock and then adhered it to a black A2 card base. I built my little Frankenstein using a die from Spellbinders and popped him up onto my card with some foam tape. I heat embossed my greeting with some white embossing powder onto a strip of black cardstock and popped it up with more foam tape.
How fun is this little Frankenstein?? I adore how this turned out!
I hope you will stop by the Addicted To Stamps & More challenge blog to see the fabulous cards the team made as well as joining us and playing along! I would love to see what you create!
Thank you so much for stopping by today and taking a look at our latest creation!
I really appreciate it so very much!
I hope you have a great crafty day!
Crafty Hugs,

Products Used:
--Cardstock: Black & Silver Glitter (Recollections), Old Olive (SU!), White (hammermill)
--Inks: peeled paint distress oxide, versamark
--Stamp: Let's Be Frank (Jaded Blossom)
--Dies: Fishtail Foundation (MFT), Stitched Rectangular Frame Dies & More (My Creative Time), Let's Be Frank (Spellbinders)
--Stencils: Rectangle Extraordinaire & Swiss Dots (MFT)
--Misc.: Micron Pen, White Embossing Powder